DIY Farmhouse Table
My Farmhouse Table!
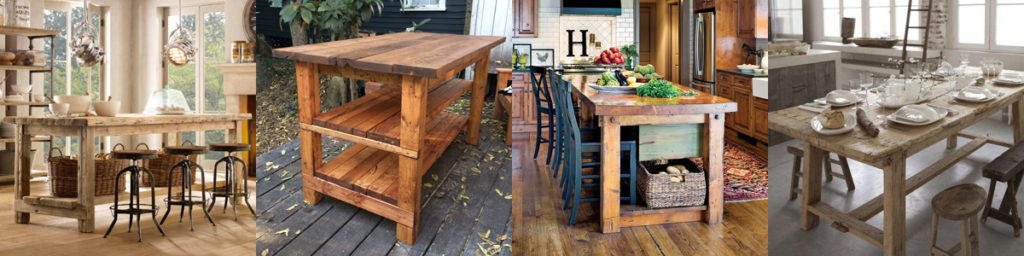
I absolutely LOVE this! This DIY farmhouse table is one of my favorite things in the whole wide world!! This table was a collaboration of several Pinterest finds, my dad’s intuition and skill and the concept I dreamed up for the needs of my kitchen. I searched for what must have been hours, looking on Pinterest for a table that would suit my needs. I couldn’t find that “just right” table that I wanted. So I drew up chicken scratch drawings and measurements of what I thought I wanted, measured my space that the table needed to fit in, and my dad made my dream come to life!
(Love you dad!!)
It’s all a piece of history…
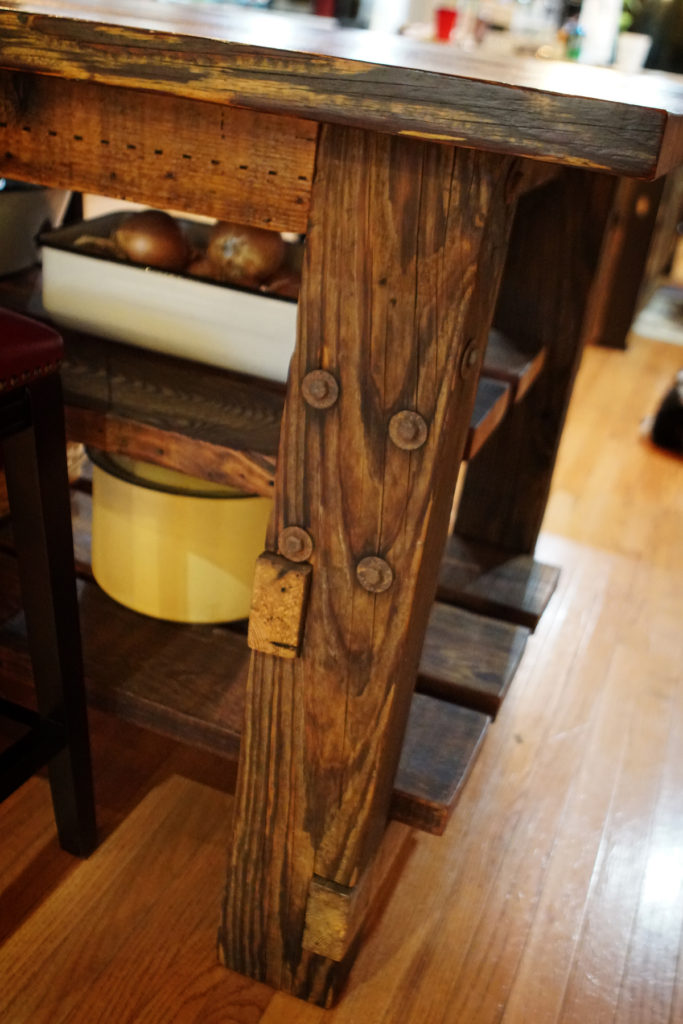
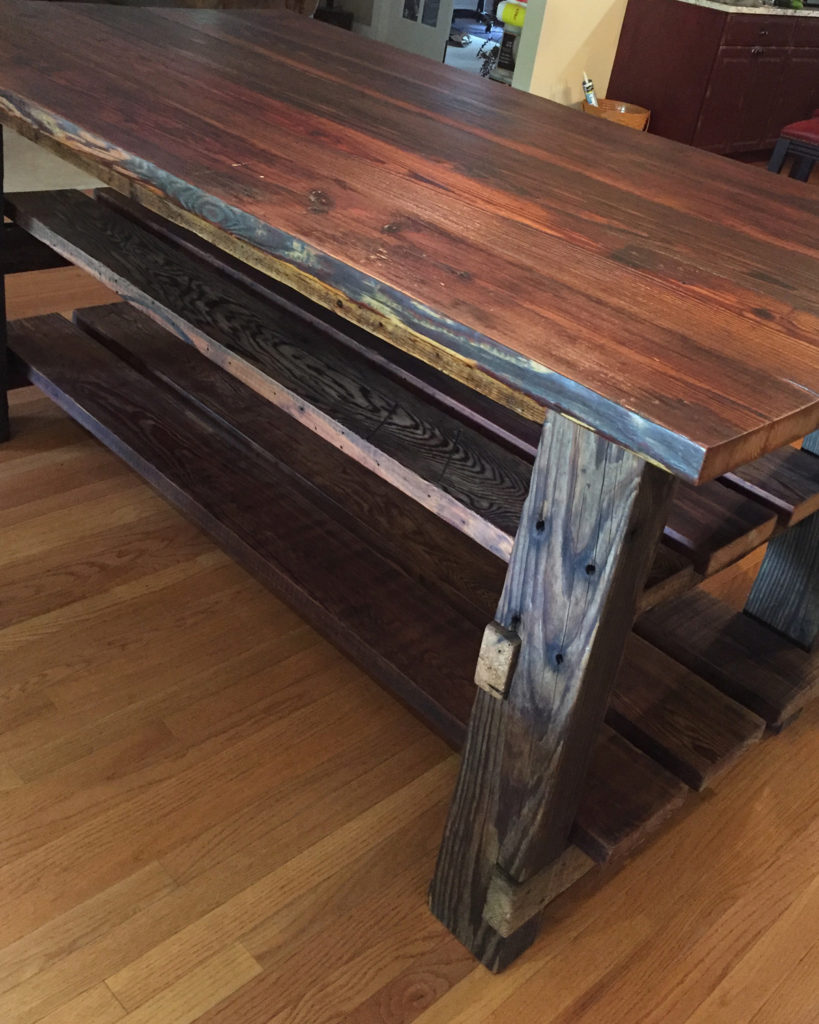
This table is amazing! The history of this wood comes from ages past, when farm buildings were made from wood, not steel. Oh how I miss the old barns and corncribs! The table top and shelves come from an old corncrib. The chunky 6×6 legs came from an old cattle feeder that was on my uncle’s farm, the bolts are even original! Some of the cross braces came from another barn that was torn down, and all these buildings were within 5 miles of the farm where I grew up.
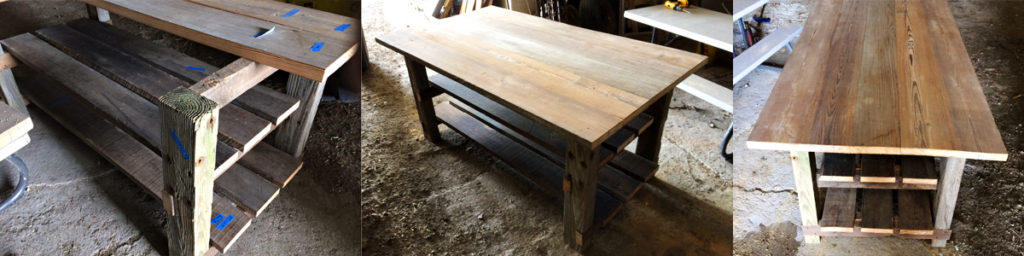
Every step of creating this table was time consuming, but I loved every minute of it. First, my dad scoured piles of wood that he had accumulated over the years that he thought would be usable. I wanted the boards on the top to be the old, true 2″ thick wood and the legs to be nice and sturdy, something really solid that would last for generations. We met in the shed on his farm to sort through and hand pick the pieces I wanted for each section of the table.
Beauty runs deep
Thinking that we had what we needed for the top and shelves, we pondered what to do about the legs. Dad hadn’t found any wood we could use for legs yet. After some discussion as to what I was looking for, he remembered some posts sitting outside another old barn on a relative’s property. We drove over to see if these would be usable for table legs. Dad was concerned that the wood was very beat up, moldy and still had bolts sticking out of the wood. Problem? Definitely not! I knew they would be perfect! After making sure they still had structural integrity, we drug them back to dad’s shed to inspect them further. They weren’t much to look at, still green with moss and mold, but I was confident there was beauty underneath.
As we studied the boards we had gathered, we labored over which direction the wood grain would go, which sides and which ends looked best and even which way the shelf boards should face. I chose pieces that had ends broken off at an angle and marred marks in just the right places for added character. Dad thought I was crazy! He wasn’t seeing my vision. To woodworkers, which he is, the broken pieces are the ones that get thrown away. To a farmer’s daughter creating a rustic farmhouse table, it was the broken pieces that were most valuable.
Puzzle or table?
Once all the wood was selected, the wood was marked for cuts and the sides of the top pieces were planed so they would fit snug together with very little gap. Dad then set out to plan the perfect way to put it all together. The top would be made into one large section so that it could be moved separately with more ease. Then the ends would be put together separately and attached to the table once we moved everything into the kitchen. The apron of the table would be attached to the legs and then the table top would be attached to the apron. After the table was assembled, we would slide the shelves in place, as each of those would be one piece as well.
When all the individual sections were assembled, we put it together for a dry run. It took my breath away! It was perfect! And it was put together in perfect timing since we had a high school graduation party to host and I had nothing else to fill the big blank space in the middle of my kitchen!
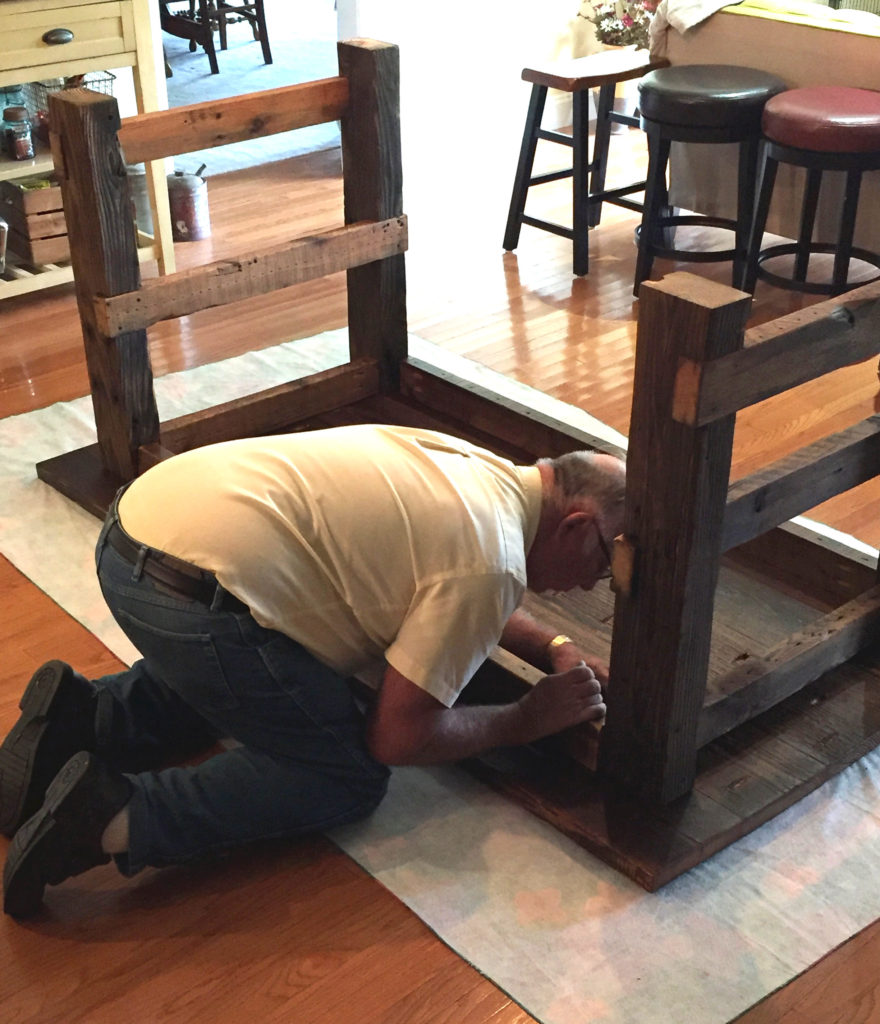
Dad putting the table together for our “dry run”.
Finishing? Or beginning?
Once the party was over, the table was ready for finishing, but in reality, little did I know that the project was really only just beginning again for my part in the process. Scrubbing was the next first step. I needed to get rid of dust, dirt, bugs, odors and whatever else had been left behind on the wood over the past several decades. After a few scrubbings, I felt as though the wood was pretty clean and it was time to sand. I knew sanding was necessary to get the boards smooth and mostly splinter free, but I didn’t want to lose the markings, divots and age spots that gave it that amazing rustic look.
I wanted to keep the past in tact, as much as I could, as I made it ready for its future. After what seemed to be endless hours of sanding, it was ready for a protective finish. We were going to sit at this table every day with food, liquid, messy hands, feet, art projects, play doh and so much more! I wanted to make sure the finish would seal and protect the table, but not lose the look and character that was so lovable about it.
Again, I spent endless hours trying to find articles on how to finish old rustic wood. WOW! There are about 100+ ways to seal and protect wood! Who knew? I really didn’t want to stain it, but I wanted it to end up a rich, dark wood. After much agonizing research, I decided to protect it with Linseed Oil.
A lengthy process…
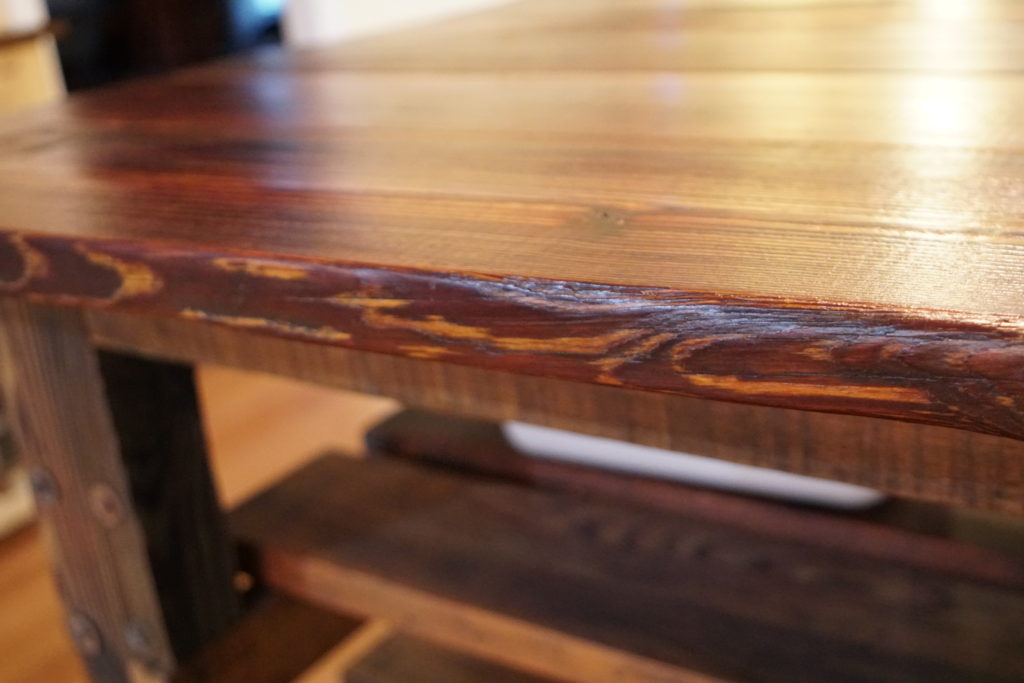
After the first coat, the wood grain and deep color just popped beautifully! It was gorgeous! It was like developing a photograph in a darkroom, watching it appear out of nowhere and come to life. I applied several coats of oil over several days time, with drying time in between. It seemed like this step took an eternity! Painting, drying, waiting, sanding, repeat! During this process I continued more research on sealing and protecting older wood. I decided after protecting it with Linseed Oil, that I would seal it with a few coats of Matte Sheen Polyurethane as well.
I’m kind of a clean freak (just shy of OCD, haha) and I was concerned about all those little food pieces that would get stuck in between the cracks of the table top. The polyurethane would help seal the cracks and make the table more cleanable in the long run. Plus, one of the boards that had been sitting outside for years had been ‘marked’ by an outdoor animal and there was a distinct leftover smell that I just could not get rid of. Using the polyurethane would give me the bonus I needed to seal in that smell as well.
This whole finishing process took several weeks! But I wanted to make sure not to cut corners on this step. The finish needed to protect this table and I wanted it to last several lifetimes.
The beautiful color that popped as the oil and poly were applied!

At last it was finished!
I couldn’t wait to get it out of my garage and get it put together! And my husband really wanted his indoor parking space back too. All the time, energy and love that went into this creation was finally done. This thing was a beast though! The top alone had to weigh 200 lbs! Needing several hands, we carried the top into the kitchen and then flipped it over on the ground to attach the base.
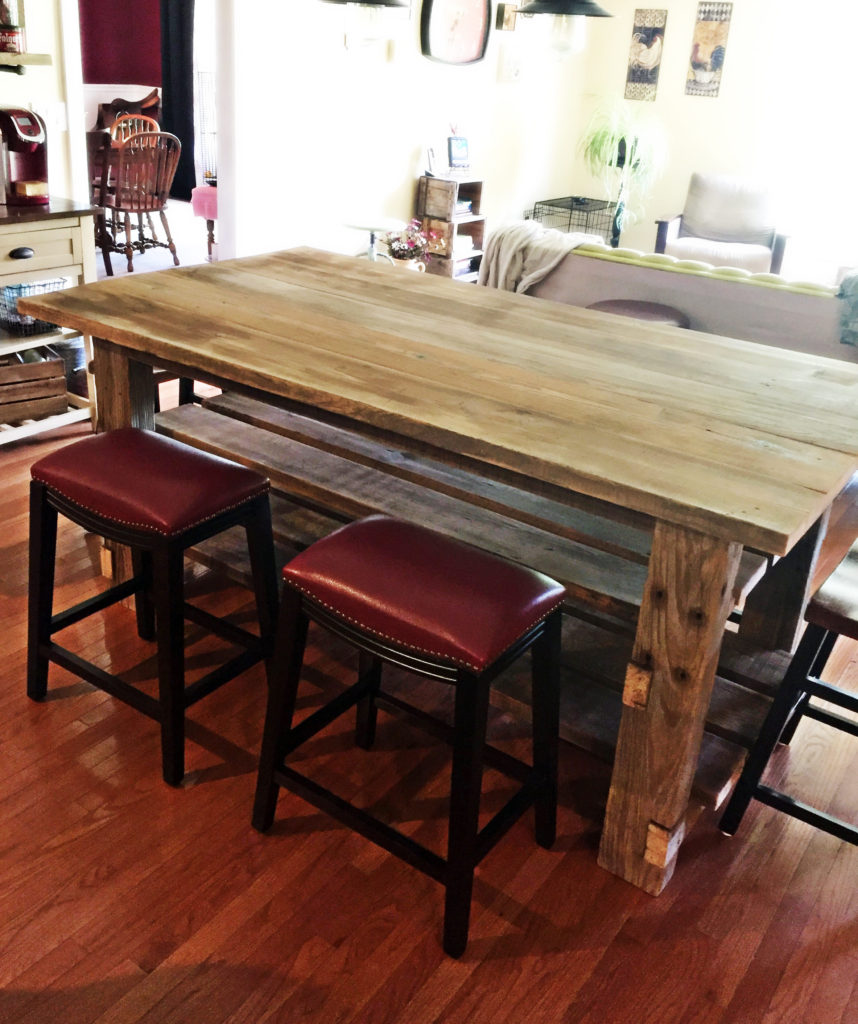
Dad had thoroughly thought through(that was a tongue twister!) how to put it together so that it would hold up well. After the base was attached, we flipped it back over and installed the shelves. Oh my goodness! I was beaming!!! This table… that took hours of hard work… was finally sitting in my kitchen! It was perfect. I couldn’t have asked for anything better!
All you need is love!
I love sitting at it. I love running my hand across its grain and worn spots, feeling the age beneath my fingers. This is a barn, a shed, old farmers fodder sitting in my kitchen. I love it, I cherish the time I spent with my father dreaming it up and making it. This farmhouse table is truly what its name claims it to be. It’s from a farm, it now lives in a farm house and it is in fact a table.
I’m not sure why I have such an affinity for old, beat up and rustic things, but I love them. The older, more worn something is, the more I like it. I reminisce over the barn that held the animals that I used to feed. The eggs that I used to collect. The pygmy goat kids that I helped that mamma birth when they came, too many and too fast for her to clean them up. The old hayloft where I got bit by that mouse that I was sure I could tame as a pet. Memories. I suppose that’s what it boils down to. When I see this table, I reminisce on all those sweet memories.
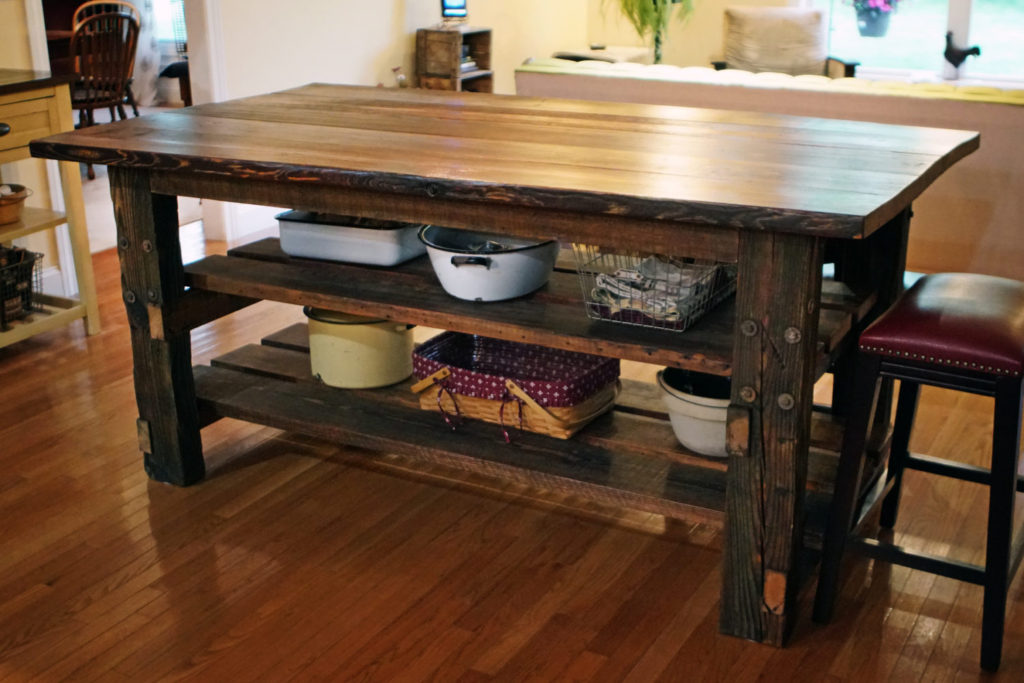
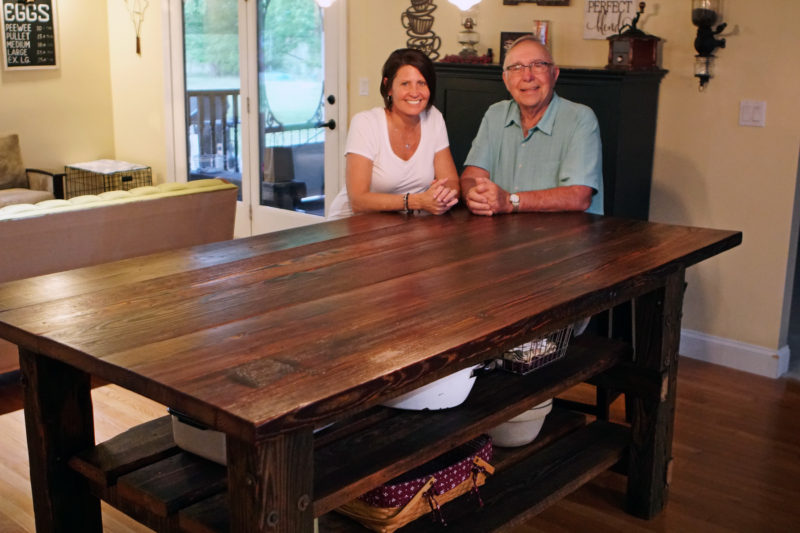
Beautiful finished farmhouse table!! I just LOVE it!
This wood holds amazing stories that shapes it’s past. I will cherish the time we spend gathered around it, making new memories going forward.